Nov . 18, 2024 16:04 Back to list
Step-by-step guide for installing sleeve anchors securely in concrete or masonry
How to Install a Sleeve Anchor A Step-by-Step Guide
Installing a sleeve anchor is a common necessity for securing various fixtures to concrete or masonry surfaces. Sleeve anchors are versatile and effective, providing a solid hold for items such as shelving, equipment, and brackets. This guide will walk you through the process of installing a sleeve anchor step-by-step, ensuring a secure and lasting installation.
What You’ll Need
Before you begin, gather the following tools and materials
1. Sleeve anchors Available in various lengths and diameters, choose the appropriate size for your application. 2. Drill A power drill capable of handling masonry bits. 3. Masonry bit The diameter of the bit should match the size of the sleeve anchor. 4. Hammer To help set the sleeve anchors. 5. Wrench A socket or adjustable wrench for tightening the anchor. 6. Safety gear Safety goggles and gloves to protect yourself from debris. 7. Dust mask To avoid inhaling dust when drilling into masonry or concrete.
Step-by-Step Installation
Step 1 Mark the Location
Begin by determining where you need to install the sleeve anchor. Use a pencil or marker to clearly mark the location on the concrete or masonry surface. It’s essential to ensure that the placement is correct as this will affect the stability of whatever you’re securing.
Step 2 Select the Right Sleeve Anchor
Choose a sleeve anchor that is appropriate for the weight and type of item you plan to secure. The length of the anchor should be longer than the thickness of the item being mounted, allowing for adequate grip in the material.
Step 3 Drill the Hole
Using the masonry bit and power drill
1. Fit the masonry bit into the drill. 2. Align the bit with the marked location and start drilling. 3. Drill to the proper depth, which should be equal to the length of the sleeve anchor minus the thickness of the material being attached. 4. Occasionally pull the bit out to clear dust from the hole for better drilling efficiency.
Step 4 Clean the Hole
how to install a sleeve anchor

After drilling, it’s crucial to remove any dust and debris from the hole to ensure optimal grip. You can use a vacuum or a dust brush to clean the hole thoroughly.
Step 5 Insert the Sleeve Anchor
Now it's time to insert the sleeve anchor into the hole
1. Place the sleeve anchor into the drilled hole. 2. Use a hammer to gently tap it into place if necessary. The anchor should be flush with the surface for a secure fit.
Step 6 Tighten the Anchor
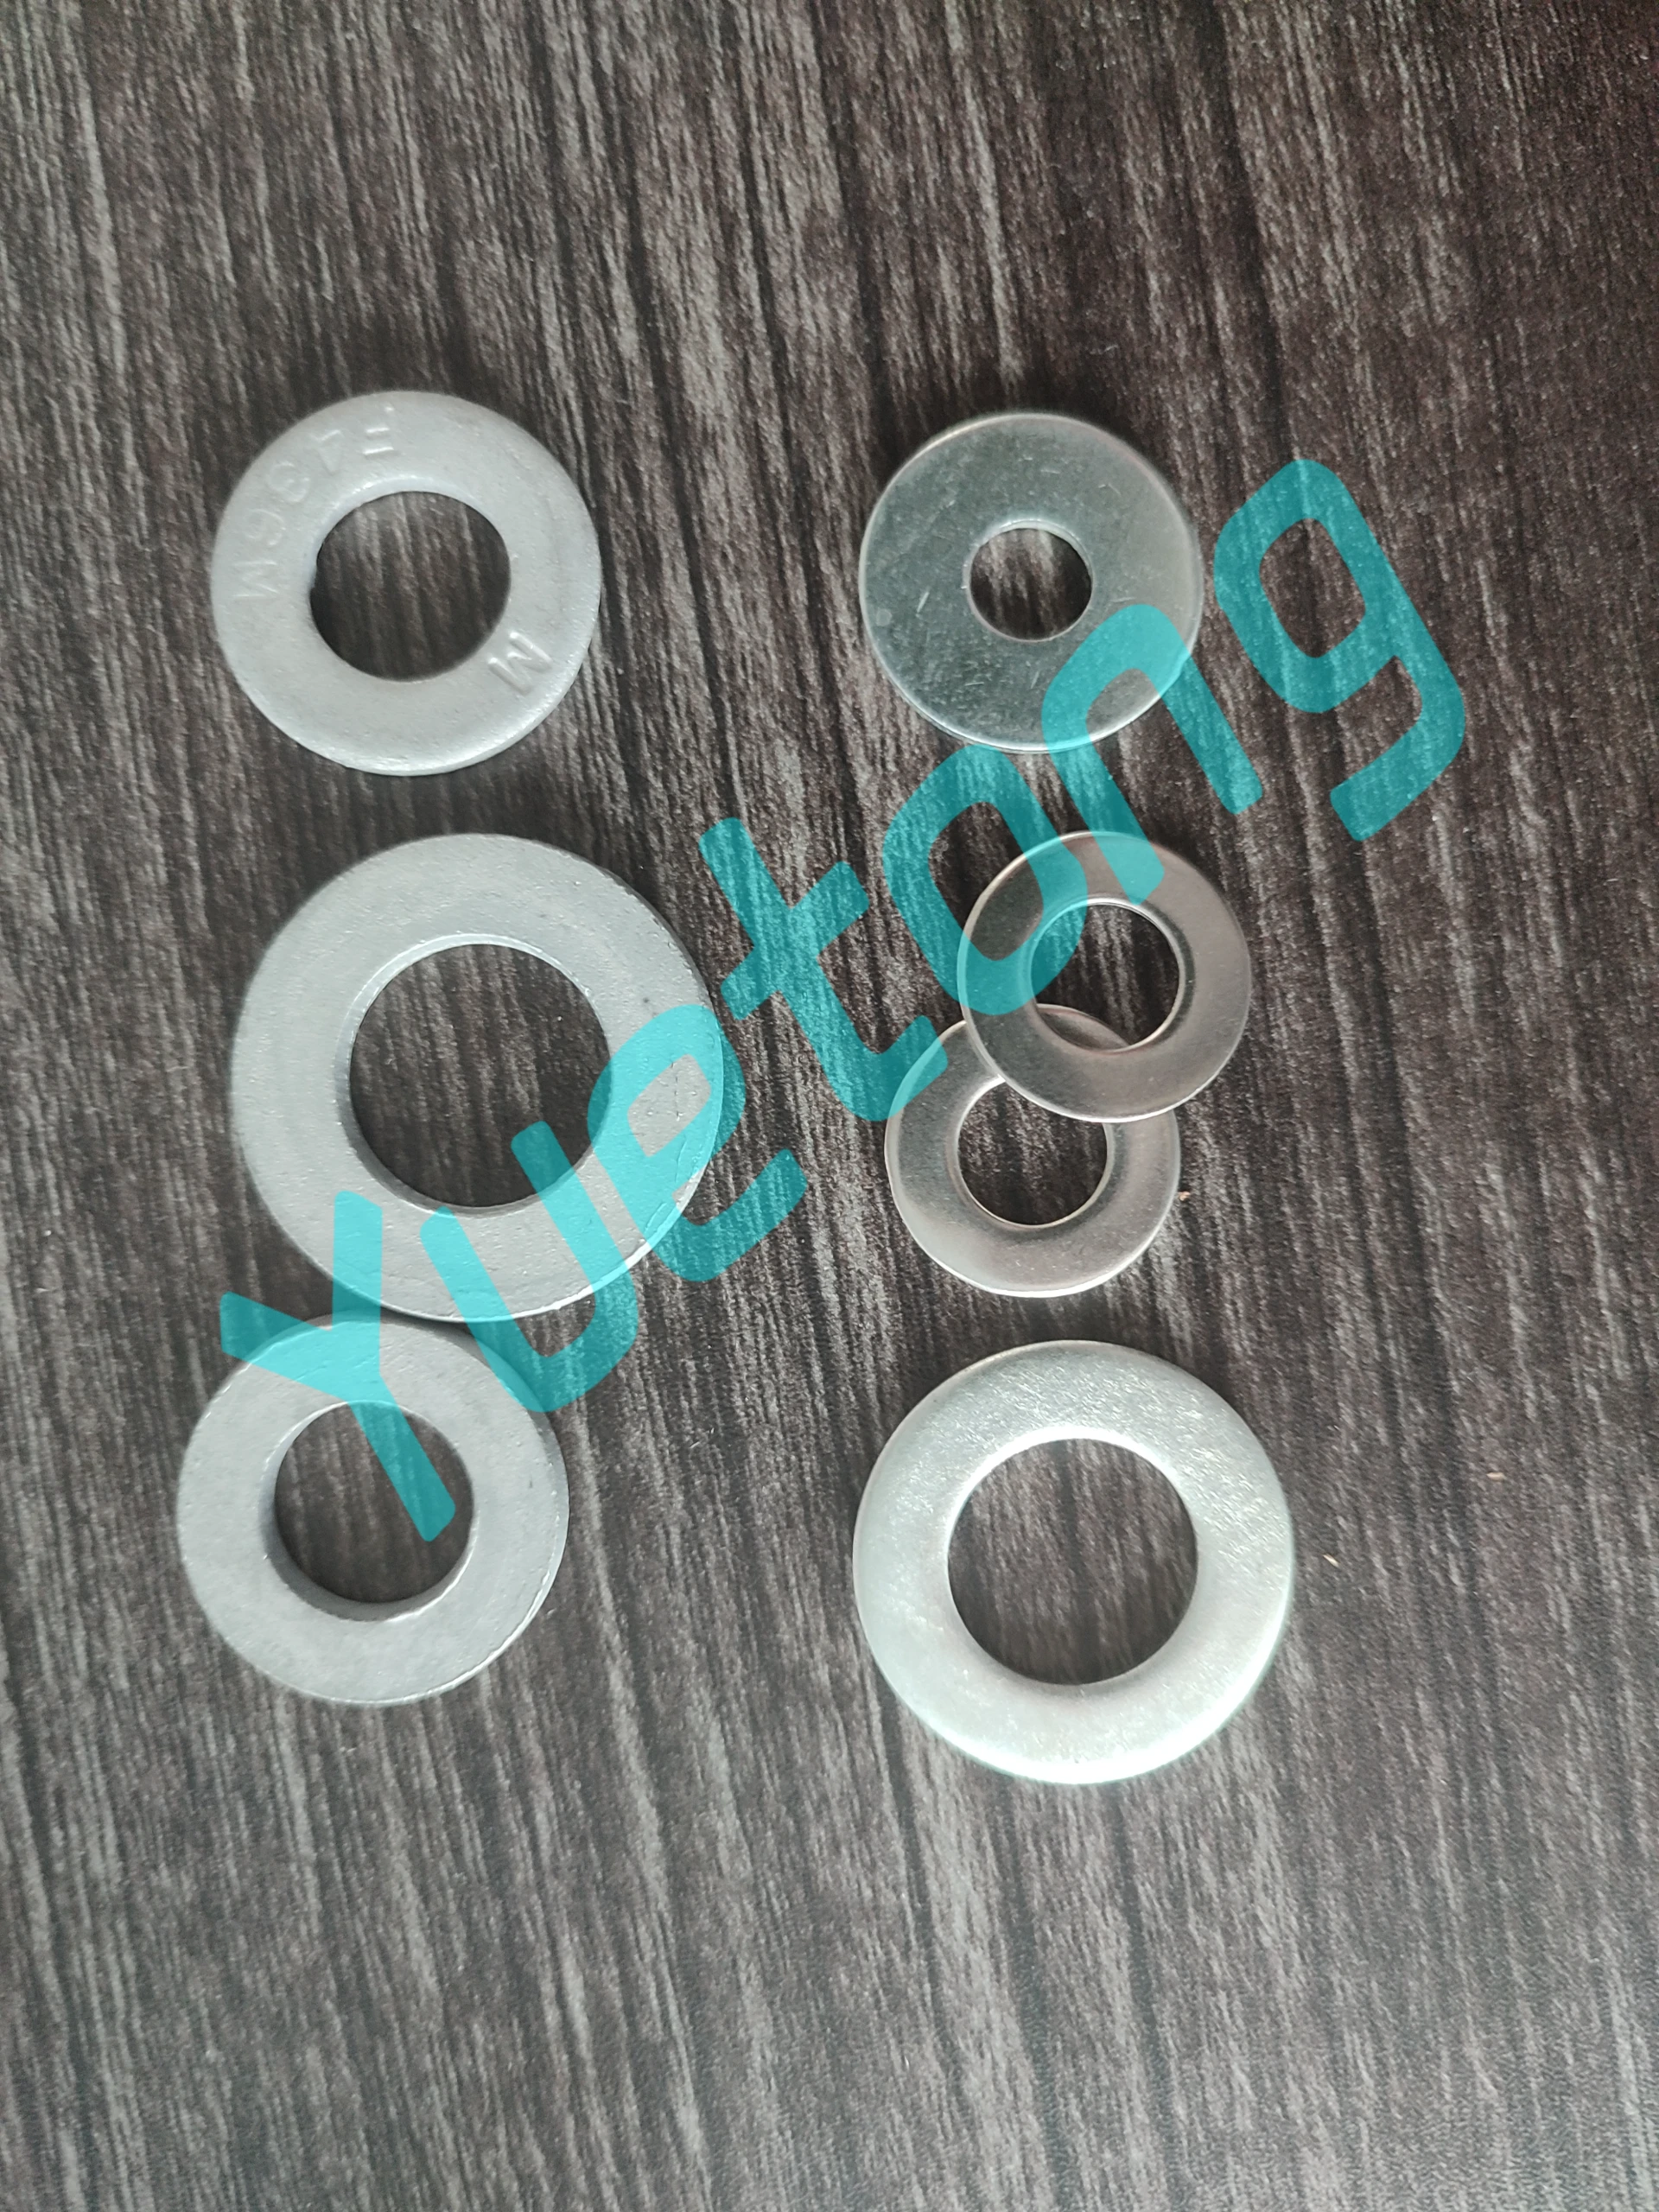
Take the attached nut and washer and place them over the top of the anchor.
1. Using the wrench, tighten the nut. As you tighten, the sleeve around the anchor will expand, gripping the surrounding material. 2. Ensure the anchor is snug but avoid over-tightening as this could damage the anchor or the surface it is secured to.
Step 7 Verify Installation
After tightening, test the strength of the installation by pulling gently on the fixture. This will ensure that the sleeve anchor is securely anchored in place.
Step 8 Complete Your Installation
Once you are satisfied with the anchor's grip, you can complete the installation by attaching whatever piece you are securing, whether it’s a shelf, bracket, or equipment. Ensure that all screws and fittings are tightened and that the fixture is level.
Conclusion
Installing a sleeve anchor is a straightforward process that can significantly enhance the stability and security of your fixtures. By following the steps outlined in this guide, you’ll ensure a durable hold that can withstand various loads. Regular checks and maintenance of your installed anchors will further guarantee their longevity and reliability. Remember to always prioritize safety and follow the manufacturer's guidelines for optimal results. Happy anchoring!


